I was really hoping this post would be the last of the geeky stuff bragging about my successful setting up of the SSB radio. But alas, the saga of the SSB radio installation continues…
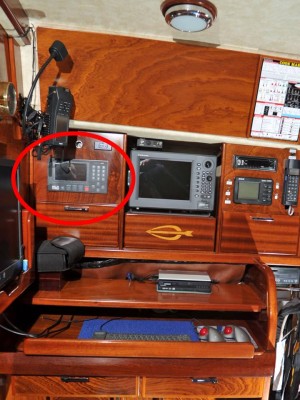
The idea was to pull out and replace a very old GPS unit with the SSB in the navigation station woodwork. The hole needed for the SSB is smaller than what is now there for the GPS. So, I needed to somehow patch this. I decided to make a false panel and match the wood in the drawer underneath in dimension. This newly manufactured false panel would fit over the old hole. This would give me a very uniform look. I was then going to cut a new hole in my false front panel and mount the SSB into the hole for a nice flush installation.
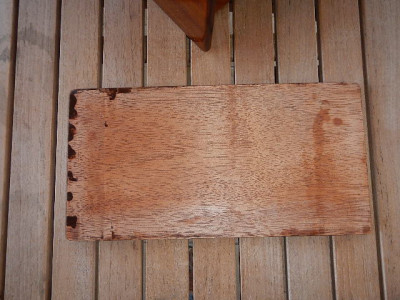
I had just enough wood left from my computer installation to complete this new project. The only problem, it was too thick and needed sizing down to 3/8”. I do not own a planner. I called a local wood shop store to see if they knew of a place where I could either rent a tool to plane the wood down to size or if they had someone who could do it for me. The person I spoke to on the phone was more helpful than I could have ever dreamed. He owned a power planner and said he would be happy to help me out personally. Not only was he willing to help but, he lives nearby and picked up the wood from me. A couple of days later he stopped by and dropped off my perfectly shaved piece of African mahogany. Wow! What a great guy, right?
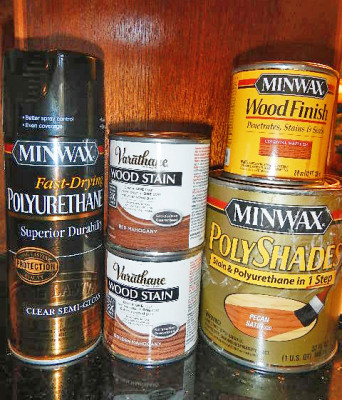
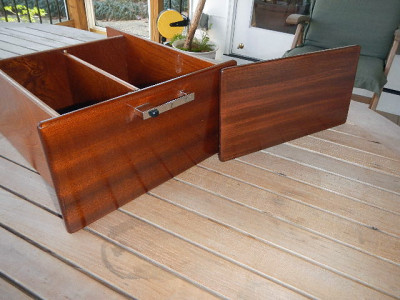
I spent the next two weeks shaping and staining the wood to match the drawer panel you see underneath in the first picture. I could only do a little each day and had to wait for it to dry between coats. I beveled the edges and rounded the corners to duplicate the drawer panel. I used a combination of stains to achieve the color match. Once I was happy with the stain color, I applied 6 coats of semi-gloss polyurethane hand sanding with fine grit paper between coats. There was not a brush stroke or mark anywhere in the polyurethane. Perfect!
At this point life is good, right? I met the helpful fellow from the store who was nice enough to help me out. I obtained a great finish and a perfect match to the drawer panel. Things at this point are looking pretty darn good.
The final step was to cut the hole for the SSB radio to slide into. I made a template and carefully marked the wood. I put tape over my table router so not to scratch the finish. I was very careful to make sure the hole I was about to cut was measured exactly. You know the old saying, measure twice cut once. I measured three times. In the back of my mind, I knew this was my only piece of wood and I had 2 weeks vested into finishing it.
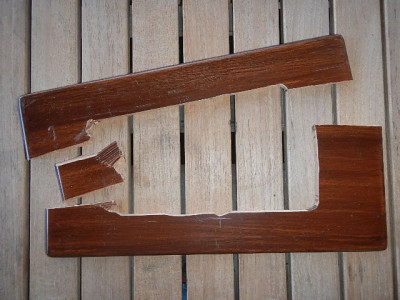
Then, disaster struck. I was on the very last cut. The router blade broke and ripped the wood from my hand and broke the panel. It is beyond repair. Heart breaking 🙁
I think I need a Plan B. Not sure what that is yet.

